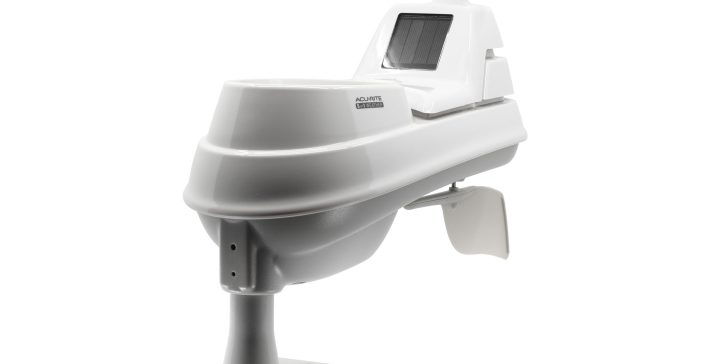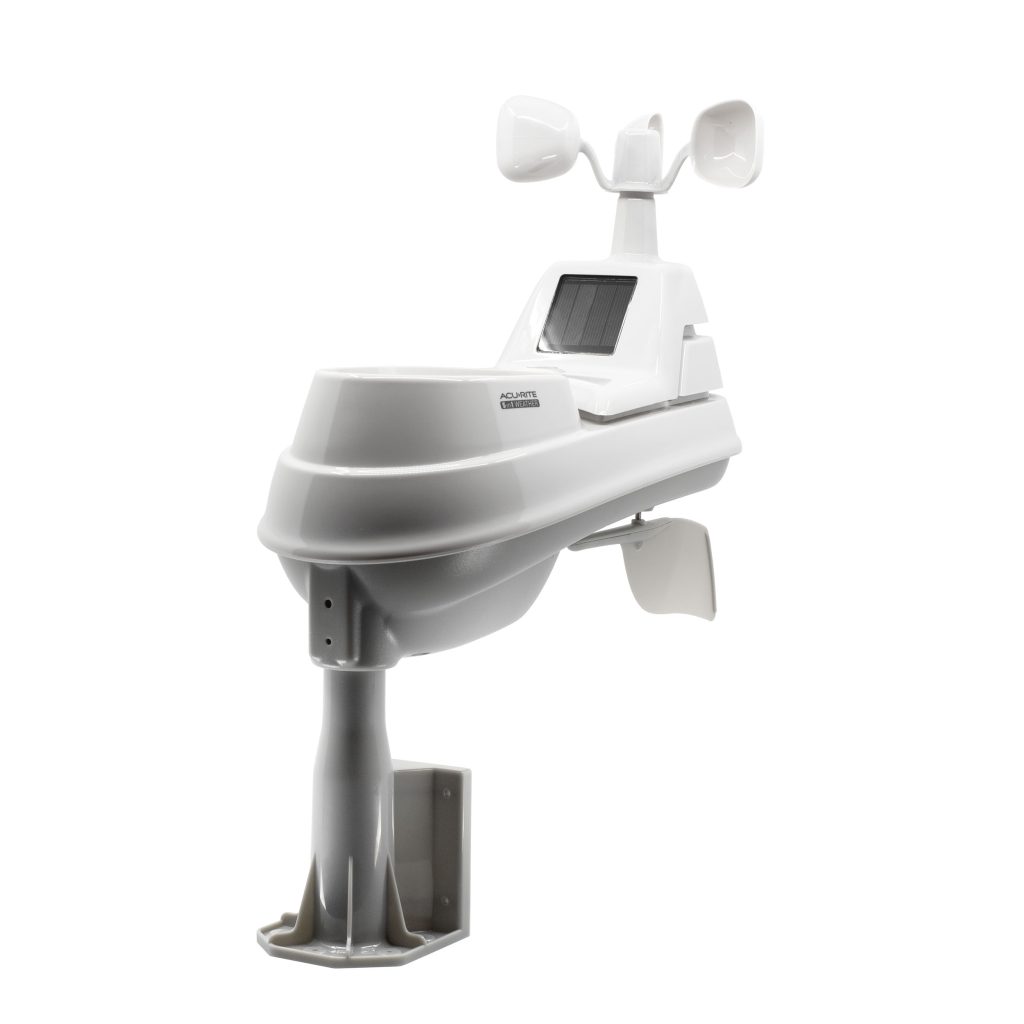
Is it possible to take an old weather station with no computer connectivity and pull the data to send to APRS? Turns out, this is a fairly doable project with certain models of weather stations. In my case, an older Acurite 5-in-1 weather station with a remote display worked perfectly. Let’s take a look at how!
Background
Years ago, I had purchased an Acurite weather station (model number 01010) which comes with a remote display. It was never permanently mounted, but taken into the field on storm chases to get accurate measurements of conditions. After several years, the station stopped communicating with the remote display. I’d reset the units, attempt to re-pair them, switch the A-B-C selector, etc., but I just couldn’t get them to play nicely together. Eventually, the station and the remote display went into the shed.

Recently, I decided I wanted to look into permanently mounting a weather station, and started to look at units that could be mounted and had computer connectivity, and/or built-in support for APRS. When pricing out options, I was reminded of my old friend, who had served me so well years ago, sitting forgotten in the back of our shed.
Restoring the Weather Station
I pulled the weather station and display out, and got to work on restoring them. I put fresh batteries in the station and the display, wiped off the dust and spider webs, and tried to pair them. Fortunately, the screen on the display turned on. Unfortunately, again, no pairing.
The one downside to this unit is there is no status light to indicate whether the station is getting any power. So, time to grab a multimeter and take the station apart. When I got the casing apart, I found the backside of the battery case (where the power leads attach) was completely corroded. As I brushed the flakes of corrosion away, I found that it had eaten through the solder joints.
After clearing the rest of the corrosion, I spent some time with the soldering iron repairing the connections. Note: everything fits snug into the housing, so be careful soldering. Burnt plastic is not a good smell.
Finally, with the soldering completed, I took a look at the remote display, and it paired! Fortunate outcome, and saved me having to futz around with the multimeter.
433Mhz
Okay, so now the weather station is operating with power, and the display is showing connection. But this model doesn’t have any ports to plug in a USB, or WiFi connectivity. So how can I get the data from the weather station to use with APRS?
Since the weather station connects to a remote display, there obviously has to be some time of wireless communication to pass the data, even if it’s not explicitly documented with ways to connect. Turns out this weather station, like many other sensors, utilizes 433 Mhz to transmit data.
433.920Mhz is a common frequency for wireless devices, everything from refrigerator temperature monitors, car tire sensors, cable TV remotes, and weather stations utilize the frequency to transmit data as needed. This means that with an SDR, it should be possible to read the data being transmitted, and hopefully, use it.
Decoding the Signals
My current APRS station utilizes a Raspberry Pi, YAAC, and an old Yaesu FT-7900. So naturally, the Raspberry Pi was the preferred device to read the data. I connected my SDR receiver, and started looking at ways to decode the data being passed.
First, I came across a tool called rtl_433 (https://github.com/merbanan/rtl_433). The linked GitHub page has a great description of it, but essentially, it utilizes RTL-SDR or SoapySDR to detect the signals on 433.92Mhz, and decodes them. It wasn’t long before I saw a few hits pass across, and when I saw “Acurite 5n1 Weather Station” in the model field, I knew I was on the right track.
I got to work building a Python script that would take the data coming across rtl_433, parse out the fields I was interested in tracking, and dump them into a log file. Then, I had to come up with a way to format the file in a way that could be used for APRS. It’s important to note here, YAAC supports using the WXNOW.TXT file commonly utilized by Davis weather stations. So that was the format I wanted to get my data into.
WeeWx
After an hour of working with different methods of parsing the data, I found I was re-inventing a wheel that had already been invented fantastically. WeeWX (https://weewx.com/) is a tool written in Python that supports SDR reception from weather stations transmitting on 433Mhz. The website has detailed documentation and installation instructions, so I won’t go too in depth here, but I’ll list out the basics of how it’s built.
Essentially I used the base WeeWX .deb install, and added the weewx-sdr extension (https://github.com/matthewwall/weewx-sdr). I also added the weewx-cwxn extension (https://github.com/matthewwall/weewx-cwxn) to generate the WXNOW.TXT file with the supported format.


Note: There’s two methods to install, a setup.py script, or installing from a .deb image. In both cases, the installation will set up a SQLite database and ask for information about the station, location, and model of the weather station. Some of the documentation, especially for extensions, make some assumptions about the installation type. Namely, the location. The setup.py script utilizes `/home/weewx/’ as the base directory, the .deb installation utilizes ‘/usr/share/weewx/’.
Web Interface
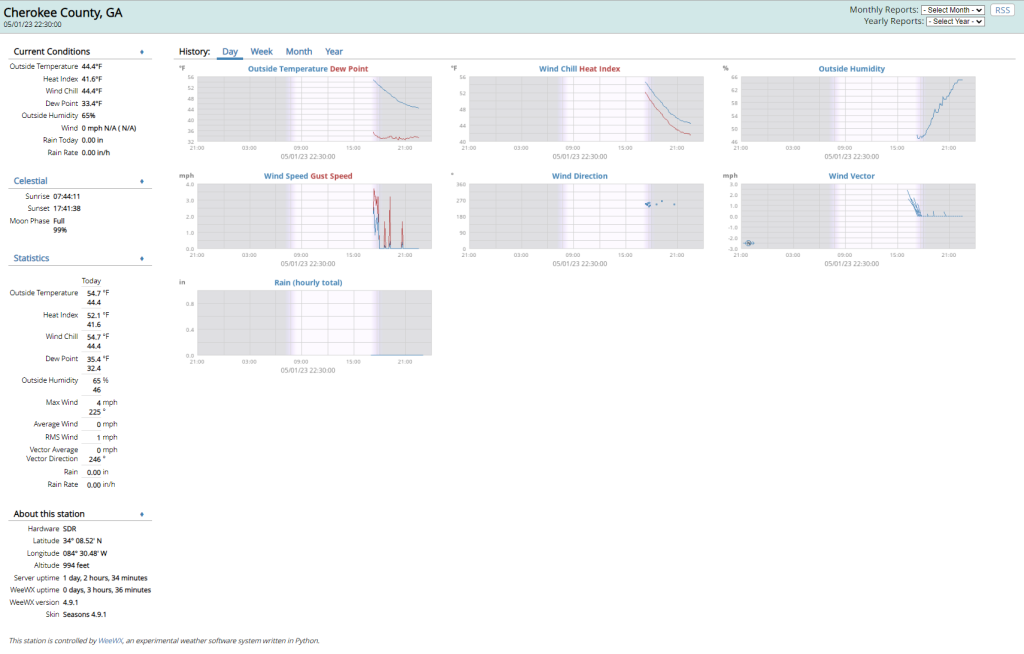
One of the nice features to WeeWX is that the reports are saved as HTML files. You can either view these files locally, or install a web server such as Apache to serve them on the network. One thing I noticed is that, while the installation utilized “/var/www/weewx”, that directory was never created on my instance. If you have that issue, you can manually create the directory and re-start the WeeWX service. I went ahead and created “/var/www/html/weewx” and pointed the configuration to that directory, then restarted the service.

Sending to APRS
Now that the data is being captured by the Raspberry Pi, and the WXNOW.TXT file is being generated by WeeWX, it’s time to send this to APRS. Within YAAC, create a new port, and select the WXNOW.TXT port type. Provide the path to the file, and select “Cumulus (dated 2-line)” for the format. For model, I tried typing in Acurite manually, but it looks like it keeps dropping back to Davis. Looking at the packets going through APRS, it doesn’t look like this line matters as much (doesn’t seem to get transmitted in the packet).

From there, all we have to do is set up our beacon, and check the “Report Weather” toggle as shown below:

With those options set, it’s time to see if everything worked.

Where’s the Pressure?
Almost everything is working the way I would like. An observant eye might catch that in the last screenshot, pressure is reading at 0 mbar. You also might have caught in my configuration screenshot that I’m not pulling any barometric data. It took a bit of reading through Acurite documentation to figure out what should have been obvious to me much earlier on. But, the barometric sensor for the Acurite weather station is inside the remote display, not the weather station itself. Since the remote display is the receiver, and does not transmit anything itself, the barometric data cannot be captured via SDR.
Utilizing an Arduino, an atmospheric pressure sensor, and a 433.92Mhz transmitter, I’ll be able to build a small barometric sensor that can also be read via WeeWX. Once the parts arrive to finish that project, I’ll post a follow-up.
